Unlock the Secret to Perfect Blueberry Scones: Juicy Berries, Tender & Golden
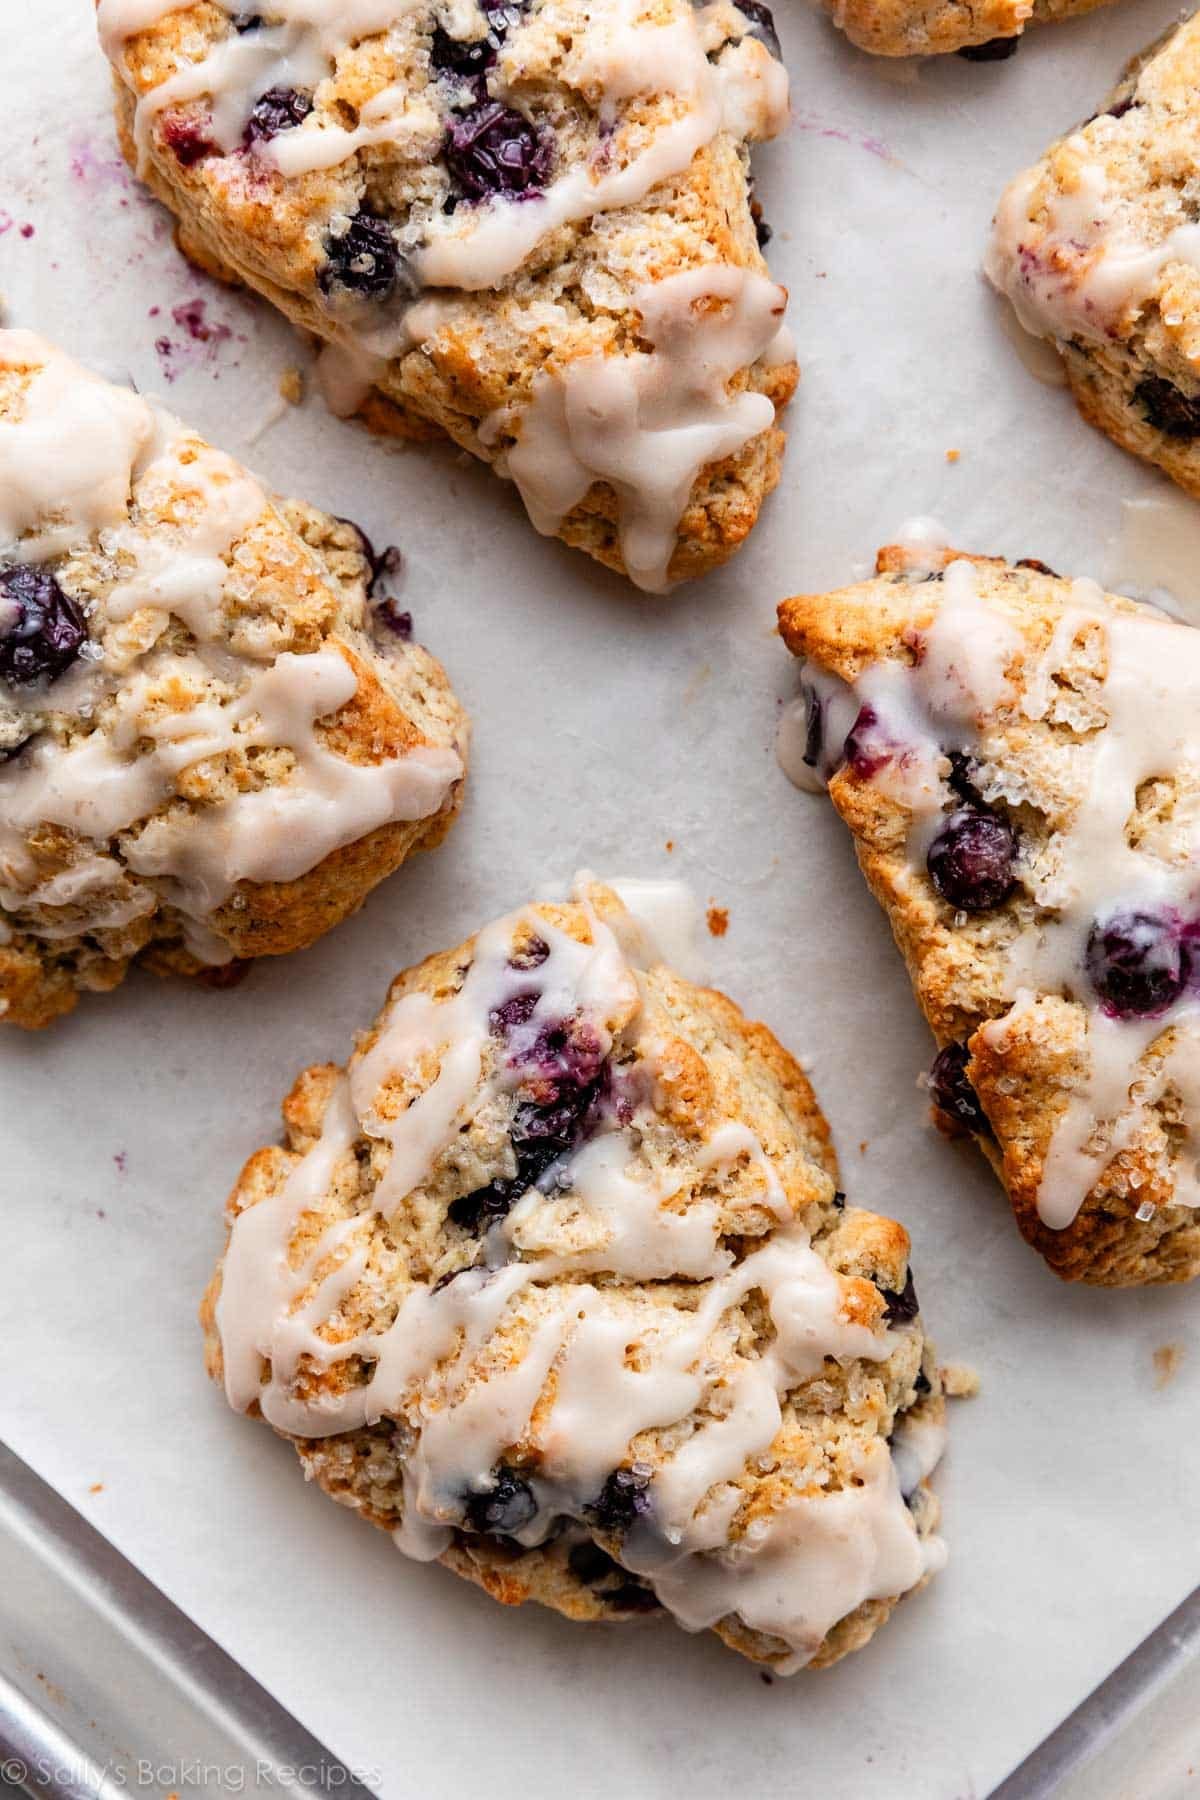
Imagine this: a warm, golden-brown scone, its exterior subtly crisp, yielding to a miraculously tender, buttery interior studded with bursts of sweet, juicy blueberries. This isn't just a dream – it's the reality of Easy Blueberry Scones: Flaky & Moist, Better Than Bakery, and it's surprisingly achievable in your own kitchen. Forget bland, dry pastries; we're talking about the kind of blueberry scones that elevate a simple breakfast, transform brunch, or make an afternoon tea utterly irresistible. With our comprehensive guide, you'll master the art of creating these delightful treats, proving that homemade truly is best.
There’s a common misconception that achieving bakery-quality scones is a complex endeavor. We’re here to debunk that myth. By understanding a few fundamental principles and employing some simple techniques, you can consistently bake blueberry scones that boast a perfectly flaky texture, a moist crumb, and an abundance of luscious berries in every single bite. The aroma alone will transport you to a cozy café, but the taste? That's pure, homemade magic.
The Essential Ingredients: Building Blocks for Scone Perfection
Like any great recipe, perfect blueberry scones begin with a thoughtful selection and preparation of ingredients. While the list might seem straightforward, each component plays a crucial role in achieving that desired tender, golden, and juicy outcome. Here’s a closer look at what you’ll need and why:
- All-Purpose Flour: This forms the primary structure of your scones. Measuring it correctly is vital; remember the golden rule of baking: spoon, don't scoop. Gently spoon the flour into your measuring cup and level it off with a straight edge to avoid packing too much flour, which can lead to dense, tough scones.
- Brown Sugar: Unlike many scone recipes that rely solely on white sugar, brown sugar brings a deeper, more complex sweetness and contributes to the scone's moistness and tender texture. Its molasses content adds a subtle depth of flavor that complements the blueberries beautifully.
- Baking Powder: The primary leavening agent, baking powder is responsible for creating those wonderful airy pockets and the characteristic rise that gives scones their light, fluffy texture. Ensure yours is fresh for optimal results.
- Salt: A pinch of salt is essential to balance the sweetness and enhance all the other flavors in the scone.
- Chilled Unsalted Butter: This is arguably the most critical ingredient for achieving flaky, tender scones. We cannot stress enough the importance of using very cold butter. Cut it into small pieces and, if possible, pop it back into the fridge or even freezer for a few minutes while you gather other ingredients. When this cold butter is worked into the dry ingredients, small pieces remain intact. As the scones bake, these butter bits melt, releasing steam that creates pockets of air, resulting in that coveted flaky, tender finish.
- Fresh Blueberries: The star of the show! Use fresh blueberries for the best flavor and texture. Gently toss them in a little flour before adding to the dough; this helps prevent them from sinking to the bottom during baking. While fresh is ideal, frozen blueberries (not thawed) can also be used in a pinch; just be aware they might slightly tint your dough.
- Half-and-Half Cream & Large Egg: This combination provides the necessary moisture to bring the dough together while enriching the flavor and contributing to a tender crumb. The egg also adds a touch of richness and helps with browning.
Crafting Your Culinary Masterpiece: Step-by-Step for Flaky & Tender Blueberry Scones
With your ingredients prepped, the journey to perfect blueberry scones is just a few simple steps away. Remember, the key here is a gentle touch and avoiding overworking the dough.
- Prepare Your Workspace & Preheat Oven: Begin by preheating your oven to 375°F (190°C) and lightly flouring a clean work surface. Gathering all your ingredients now will make the process smooth and enjoyable.
- Combine Dry Ingredients: In a large mixing bowl, whisk together your flour, brown sugar, baking powder, and salt until thoroughly combined. This ensures even distribution of the leavening.
- Cut in the Cold Butter: Add your small, chilled pieces of butter to the dry mixture. Using a pastry blender or two knives, cut the butter into the flour until the mixture resembles coarse crumbs, with some pea-sized pieces of butter still visible. This is where the magic of flakiness begins!
- Introduce the Blueberries: Gently fold in your fresh blueberries. Tossing them lightly in the flour mixture helps coat them, preventing them from sinking during baking.
- Incorporate Wet Ingredients: In a separate small bowl, whisk together the half-and-half cream and the large egg. Slowly pour this wet mixture into the dry ingredients, stirring with a rubber spatula just until a shaggy dough begins to form. Resist the urge to overmix!
- Gentle Kneading & Shaping: Transfer the shaggy dough to your lightly floured surface. Knead it very gently, just 3 or 4 times, until it barely comes together. Overworking the dough develops gluten, leading to tough scones. Divide the dough in half, then gently pat each half into a 6-inch round, about 1-inch thick.
- Cut & Bake: Carefully transfer the rounds to an ungreased baking sheet. Using a sharp knife or a bench scraper, cut each round into 6 equal wedges. Arrange them slightly apart on the baking sheet. Bake in your preheated oven for approximately 20 minutes, or until the scones are beautifully light golden brown on top and the edges are set.
- Serve Warm: The absolute best way to enjoy these blueberry scones is straight from the oven, while they are still warm.
Secrets to Achieving Bakery-Quality Texture and Flavor
Beyond the basic steps, a few expert insights can truly elevate your homemade blueberry scones from good to extraordinary. The goal is that perfect balance: flaky on the outside, incredibly tender and moist on the inside, with vibrant bursts of fruit.
- Don't Skimp on the Cold Butter: This cannot be overstated. Cold butter is the cornerstone of a flaky scone. If your kitchen is warm, you can even pop the bowl of flour and butter into the fridge for 10-15 minutes after cutting the butter in, before adding the wet ingredients. For more in-depth advice on this crucial technique, check out our guide on the Secrets to Moist & Flaky Blueberry Scones: Your Easy Guide.
- Mindful Mixing: The less you handle the dough, the more tender your scones will be. Stir just until combined, and knead only a few times.
- Add a Touch of Citrus: For an extra layer of brightness, consider adding 1-2 teaspoons of fresh lemon zest to your dry ingredients. Lemon and blueberry are a match made in heaven, and the zest will lift the flavors beautifully without making the scones taste overtly lemony.
- Consider a Glaze: While delicious plain, a simple lemon glaze can take your blueberry scones to the next level. A quick whisk of powdered sugar, a squeeze of fresh lemon juice, and a tiny bit of milk or water creates a luscious topping that adds an irresistible sweet-tart finish.
- Don't Overbake: Keep a close eye on your scones. As soon as they are light golden brown, they're likely done. Overbaking will dry them out and make them crumbly.
Serving Suggestions and Storage
These perfect blueberry scones are incredibly versatile. Enjoy them warm, fresh from the oven, perhaps split and spread with a dollop of softened butter, a spoonful of your favorite jam, or a dollop of clotted cream for a truly British experience. They pair wonderfully with a hot cup of coffee, a comforting tea, or even a glass of cold milk. For unexpected guests or busy mornings, baked scones freeze beautifully. Once cooled, wrap them tightly in plastic wrap and then in foil, storing them in the freezer for up to a month. Reheat in a low oven until warmed through.
Making your own tender, golden blueberry scones bursting with juicy berries is a rewarding experience that yields truly superior results compared to anything store-bought. With these tips and a little practice, you’ll be baking delightful treats that will impress everyone who tries them. So, gather your ingredients, preheat your oven, and prepare to embark on a delicious baking adventure!
